Friday, January 28, 2011

Worst Bridesmaids Dresses Ever?

Well the wedding is only 37 weeks away and so far Pete and I have organised the venue.

I know what style dress I want, I have my shoes and I have the fabric to make the bridesmaids dresses but I am still trying to determine what length I want them to be.

My best girls are getting excited (which is so cool to watch) and I have been e-mailing them with questions about colour options and preferences and I am going to e-mail them a scan of the fabric samples and dress design.

They have a great sense of humour though so I wanted to play a little joke on them.

I have been looking on the internet for the World's Worst Bridesmaids Dresses ever so I can send them via e-mail and I found these beautiful gowns ... I just had to share

just for a giggle


Thursday, January 13, 2011

BrisStyle "Handmade Ark" Appeal


As with many who follow this blog, I live in Brisbane Qld and although I am safe and dry where I live, there are at the moment approx 20,000 homes in Brisbane alone who have had to be evacuated due to this recent and devastating flood.


Many of my friends and thousands of strangers have lost all their possessions and although they are glad to be safe, the reality sets in that they don't have anything now. Some managed to get a handful of clothes before they left but others are without basics like hair and tooth brushes or clean undies.


The evacuation centres are providing emergency shelter and food but there's a long way to go with clean up and re-establishment of those basics.


My heart is torn for these people who have so little left but exude so much spirit and care for each other. I am proud to be a Queenslander, for it's not just Brisbane that's been so horribly devastated. Townsville, Rockhampton, Bundaberg, Toowoomba, Ipswich, Grafton and so, so many between have been direly affected. These are not small waters. Qld is a large state in Australia. Approx 25% of Australia. A land area of 1, 727, 000 square kilometres. That's an area as large as Texas, or France and Germany combined, Qld'ers are sticking together and buoying eac others spirits where possible.


I love it so much when the crafting community endeavours to join forces and do what they do best. Make. Make to raise money for relief funds. 


My largest circle of crafting sisters and brothers is BrisStyle. BrisStyle is a cooperative group of talented Australian artists, crafters and artisans who call the Brisbane area home. BrisStyle formed in March 2008 through a shared love of creating beautiful things, which members sell on Etsy.com. Since then the group has significantly swelled in numbers, and is a happy family for those who understand that little shiver of excitement that comes from producing handmade goods.

As BrisStyle state on the blog:

With heartfelt acknowledgement of our fellow BrisStyle members as well as all the Queenslanders who have been affected by the recent floods, we have put our crafty goodness towards raising funds, as well as awareness of those in need.


We know that we can't stop the rain from failling but we can certainly help make a difference by donating much needed funds to the Premier's Flood Relief Appeal by way of BrisStyle's "Handmade Ark" Flood Appeal.


Donating is easy. Simply purchase a handmade item from a participating BrisStyle members Etsy shop and the funds will be donated directly to thePremier's Flood Relief Appeal. The participating BrisStyle Etsy stores will be featured on the BrisStyle blog as well as a tally of funds raised.


Please extend your generosity via our "Handmade Ark" Flood Appeal and know that in some small way, you will be making a difference to the flood affected communities of Queensland.


Kitty Boo Boo will of course be participating and between helping my family and friends clean up their houses I will be listing items in my Etsy store Kitty Boo Boo Design with free postage and 100% donation to the relief fund.


So please, see what BrisStyle has to offer you and know that your money is helping people rebuild their homes, their lives and their spirits.

Monday, January 10, 2011

Tutorial: How to make your own inexpensive light box

If you follow my blog you'd know that it's been raining here in Brisbane for almost 8 weeks straight. If you're like me and make things to sell as a hobby but do it from home, trying to take decent photo is near impossible.

But fear not my friends, using things most of us have lying around the house, you can make a cheap yet functioning light box to take those beautiful photos for your etsy, made it, facebook or website.

LIGHTBOX TUTORIAL

ITEMS NEEDED
  • 1 cardboard box (it doesn't matter what size as long as it's big enough to hold inside the objects you want to photograph)
  • 1 ruler
  • 1 pen
  • scissors
  • stanley knife / box cutter
  • white fabric (or tissue paper)
  • tape
  • white spray paint or extra sheets of white cardboard
  • sheet of cardboard or paper in whatever colours you want your backgrounds to be
  • lamps or lights with daylight bulbs (desk lamps are fine - just make sure they have a daylight bulb)
METHOD:
1. Take your ruler and measure in about 2-3 cm from the edge towards the inside panel of the box until you have created a border. Do this to all sides except the back and the bottom.


2. Cut out the inside of these borders.


3. I didn't have time for this part but now you can paint or cut white paper frames for the inside of the box. My border is quite narrow and I ran out of time to let it dry so I omitted this step.

4. Wrap the fabric around the outside of the box. When choosing fabric make sure it's not too dense. Muslin or lightweight cotton are the best. If your using tissue paper tape it to the outside of the sides, and top.


5. Cut a piece of cardboard or paper the width of the box and the length of the back and bottom of the box. Make sure you don't crease it. You want the back to be curved slightly so there is a seamless background in your photographs.


6. Place your lamp(s) on either side, both sides and/or the top of the box. I'm only using one today but at night I would recommend one each side and on top.


TIPS:
  • Make sure your lamp has daylight bulbs or the colour may not be right
  • You might need to adjust your white balance on your camera
  • Make any further adjustments to brightness etc using a photo editing tool/suite
  • If you don't have white fabric you can use paper
  • Be careful using the box cutter
  • Never leave your lights unattended and be wary of fire
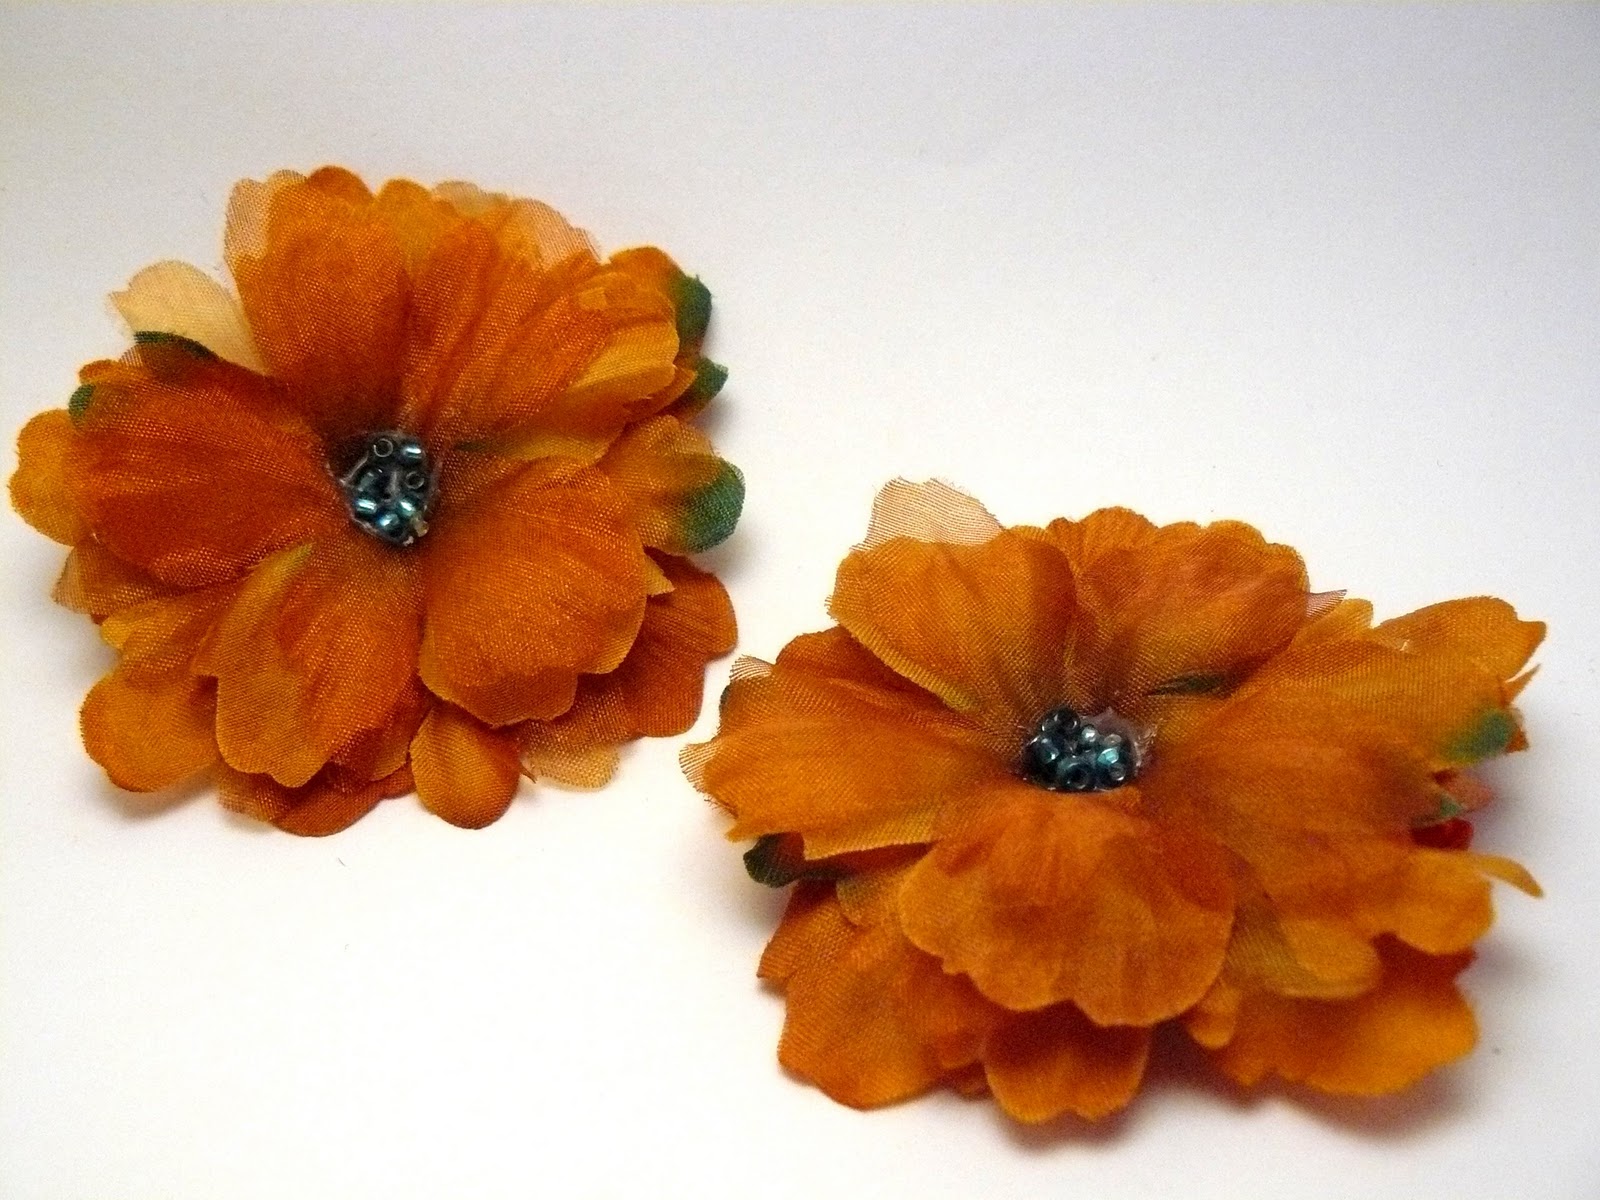
Here's a pic of before and after using the light box


So much better. It loses that blue tinge that overcast days are inclined to give. There is still some shadow there but that is because I am using only one light.

So there you go ... I hope this helps you get some of your stuff photographed.

Saturday, January 8, 2011

Clearing out and making room ...

With my upcoming nuptials and being off work for the last 2 months I have decided to clear out the catacombs of my closet and sewing room and sell some clothes and stuff  with the hope to make some money. Weddings seem to add money to everything! Even when you're trying for a handmade wedding.

It has actually been a bit fun clearing out the clothes and I have been a bit brutal (which is hard for me when clothes and shoes are involved) and so over the next few weeks and months I will be selling off unused and pre-loved clothes, shoes, fabric and books.

Here's a sneak peek of a few things ... I'll post links on this blog when the listings are up at eBay ...